
DIY Chicken Waterer
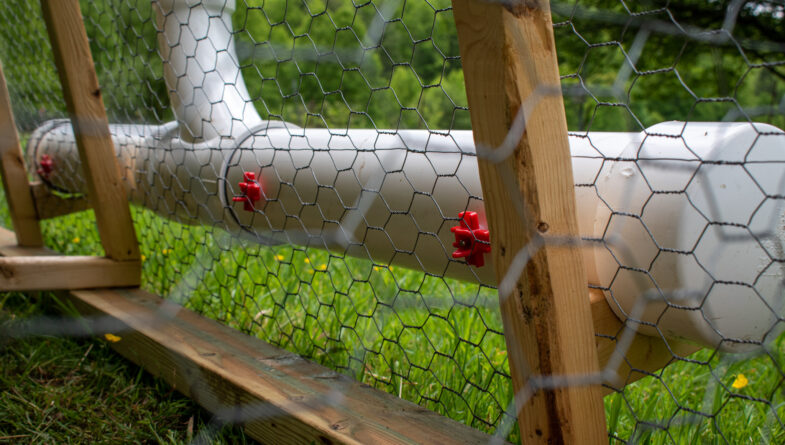
This simple, through-fence, DIY chicken waterer is perfect for both the mobile coop and for quick access from outside the run in a fixed run as well! It utilizes side mount nipples in PVC which means no water waste, less freeze hazard, and minimal cleaning! The three gallon capacity means watering is no longer a daily chore and it can easily be attached to a gutter downspout from off the coop which means it becomes nearly entirely hands-off!

I first used the chicken nipples when they only came in the format that fit on the bottom of the water source (a five gallon bucket in my case). We lived in Coastal GA at the time (HOT, HOT, HOT) and I worked many hours a week as an engineer. Water for the chickens was a big deal. Those nipples were fine and the water stayed clean but I don’t know if you’ve ever tried to carry, clean, fill and re-carry a five-gallon bucket which couldn’t be set down, but it wasn’t easy. In addition, the bucket had to be hung up high enough for the chickens to drink from underneath. My coop then was a walk-in, so no issue, but my current permanent coop is off the ground and not easy to get into and my newest mobile coop doesn’t have the head space. These horizontal nipples are a relatively new innovation and they’re wonderful!
However, not all side mount chicken watering nipples are created equal. The first set I tried from Rentacoop on Amazon had four out of the six leak on me (leaking through the nipple, installed correctly). The second set of five I ordered had four non-leakers (I didn’t install the fifth yet as that is my backup)! I’m super happy with this set up for the water. It is easily accessed from the outside of the coop, keeps the water clean, and moves with the coop without any special attention when the coop moves. Score!
Parts List
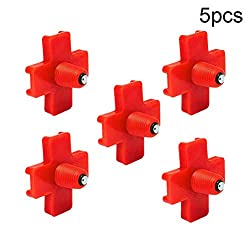
- Side Mount Chicken Nipples (affiliate link) 1 order quantity of 5 nipples
- Three foot length of 4″ PVC pipe (quantity of 2)
- Three foot length of 3″ PVC pipe (quantity of 1)
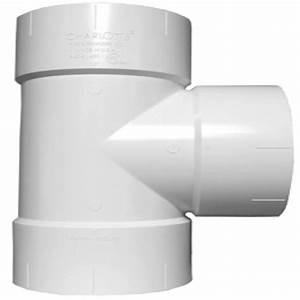
- 4″ PVC pipe reducing T – reducing 4 inches to 3 inches (quantity of 1)
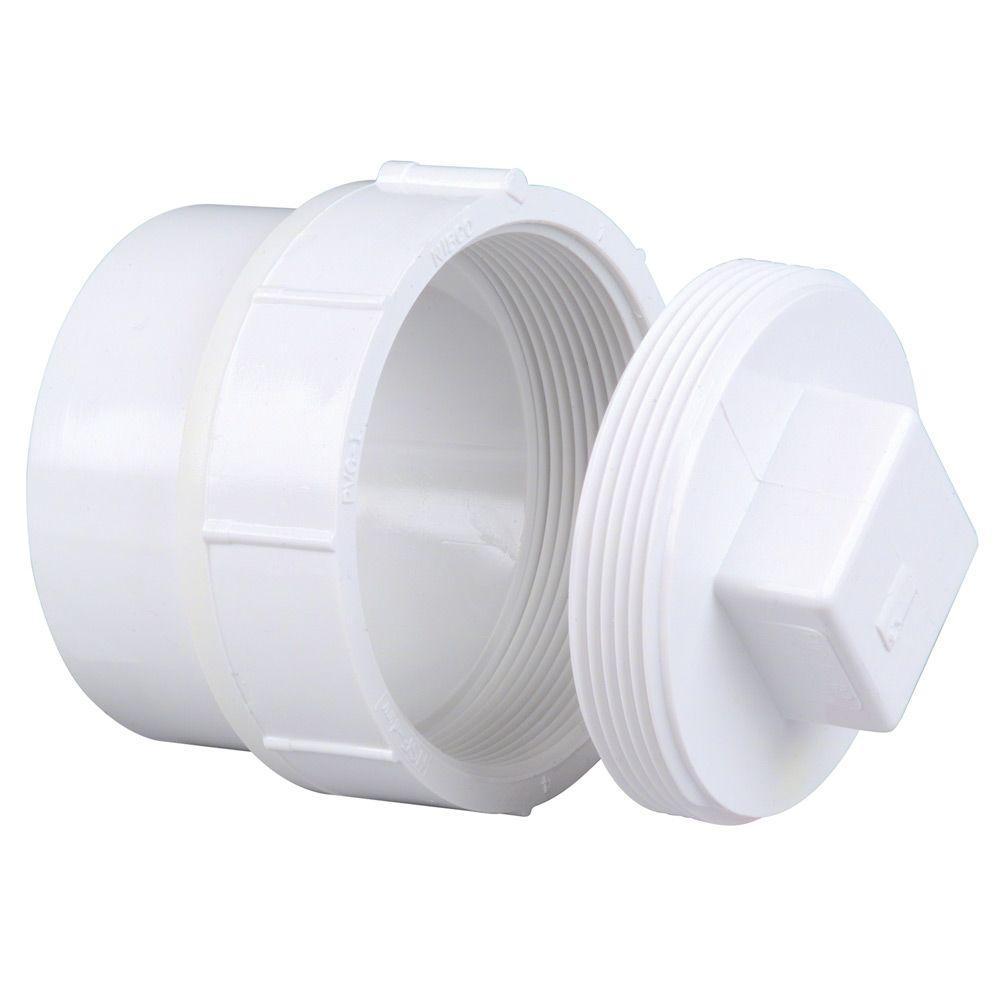
- 4″ PVC cleanout and screw cap (quantity of 1)
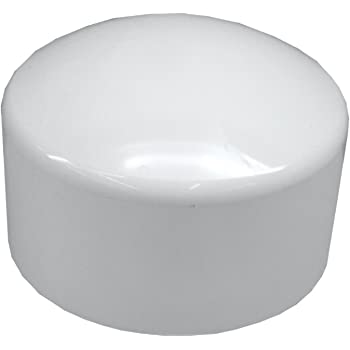
- 4″ end cap (quantity of 1)
- 3″ end cap (quantity of 1)
- 11/32″ drill bit
- PVC cleaner and glue
DIY Chicken Waterer Procedure
Step 1:
Glue the four inch sections of pipe into the horizontal portion of the 4″ reducing T.
Step 2:
Next, glue the 3″ section of pipe into the vertical portion of the reducing T.
Step 3:
Then, glue the end cap on one side of the 4″ pipe and the clean out on the other end. Screw the cap into the clean out.
Step 4:
Drill 2 weep holes in the 3″ end cap to prevent a vacuum from forming in the PVC pipe and preventing water from coming out.
Step 5:
Measure and mark where your nipples will go on your horizontal PVC based on your installation.
Step 6:
Pre-drill with the 11/33″ drill bit (or 3/8″ if you can’t find an 11/32″) where you marked.
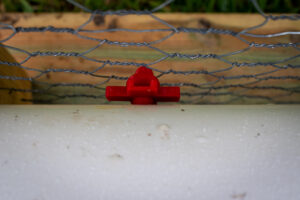
Step 7:
Screw the nipples into the holes. Only screw them in about 80% of the way or until the wet end of the nipple is inside the PVC pipe. Don’t try to set the back of the nipple flange flush with the pipe.
Step 8:
Allow the vapors to evaporate, attach to your coop or run and fill with water. This design holds a little over 3 gallons of water.
I hope you’ll take a moment to check out our awesome DIY chicken feeder options as well! Keep on clucking!