Hand Milking Without Fear

Any dairy animal owner should learn hand milking even if you don’t intend to do it often. Machines break down and many times an at-risk animal should be stripped by hand following a machine milking to reduce the incidence of machine-induced mastitis.
If you ask 10 different milkers what their process and routine is, you’ll get 12 different answers. The important thing to keep in mind with milking an animal is that if you keep them comfortable and keep to a routine they will adapt to that routine as much as that given animal is able to do so. If something isn’t working for you or your girl, consider some of these suggestions and make any desired changes gradually till you find a process that works best for you!
Getting Set Up
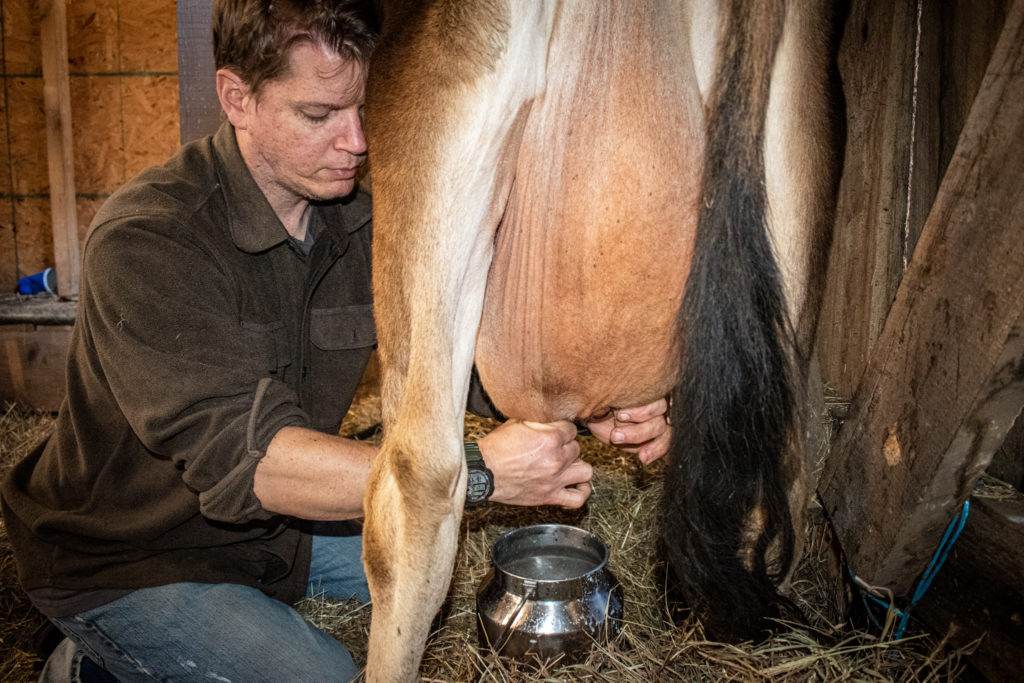
You should have a low stool available that will allow you to keep your back mostly straight as you are seated next to your cow. Raised stanchions are great if you can manage one for your cow and they are a necessity for most smaller animals. Goat stanchions are simple to build and can often be made of scrap wood. You’ll also need a container into which you will milk. This container should be non-reactive and easy to thoroughly clean. I use a 5-quart container that fits easily under the cow and the larger goats and then dump from there into a larger container as needed. This makes moving the can under the cow/goat easy and prevents the loss of all the milk from the day if it gets knocked over or stepped in by the cow (not that that has EVER happened). For really small milkers, like our Nigerian Dwarfs, we just milk into a hefty glass measuring cup.
Secure your girl in the stanchion and apply any restraining device required. New cow milkers should use an anti-kick-bar or belly-rope to ensure your own safety until you and the animal are comfortable with one another and the milking process. Injury and death have resulted from hoof-head contact. Many milkers also tie the tail to avoid swishing in the bucket or unwanted contact with the milker (usually not dangerous but it can be annoying). Goats use something called a hobble which prevents them from being able to kick up with one leg.
Wash / clean the udder or teats. Studies have shown that washing the whole udder often leads to higher levels of bacteria in the milk than only washing the teats. I’d go with common sense on this one, though, and wash the udder if it looks like it needs it. If you have a known risk of serious environmental pathogens present, exercise appropriate cautions. Mastitis in any of your milkers or the suspected presence of it should also warrant great care in both the cleaning process and the milking process to minimize the danger of cross-contamination from infected animals / teats to healthy animals/teats. Many people use a teat dip before or after the milking process.
This is also a good time to do a cursory visual inspection. A small handheld – flexible mirror can aid in this process if you don’t want to crawl around under your animal. Treat any small nicks on the udder or teats and note any signs of discomfort, irritations, etc. so that you can research as needed to address them.

Hand Milking
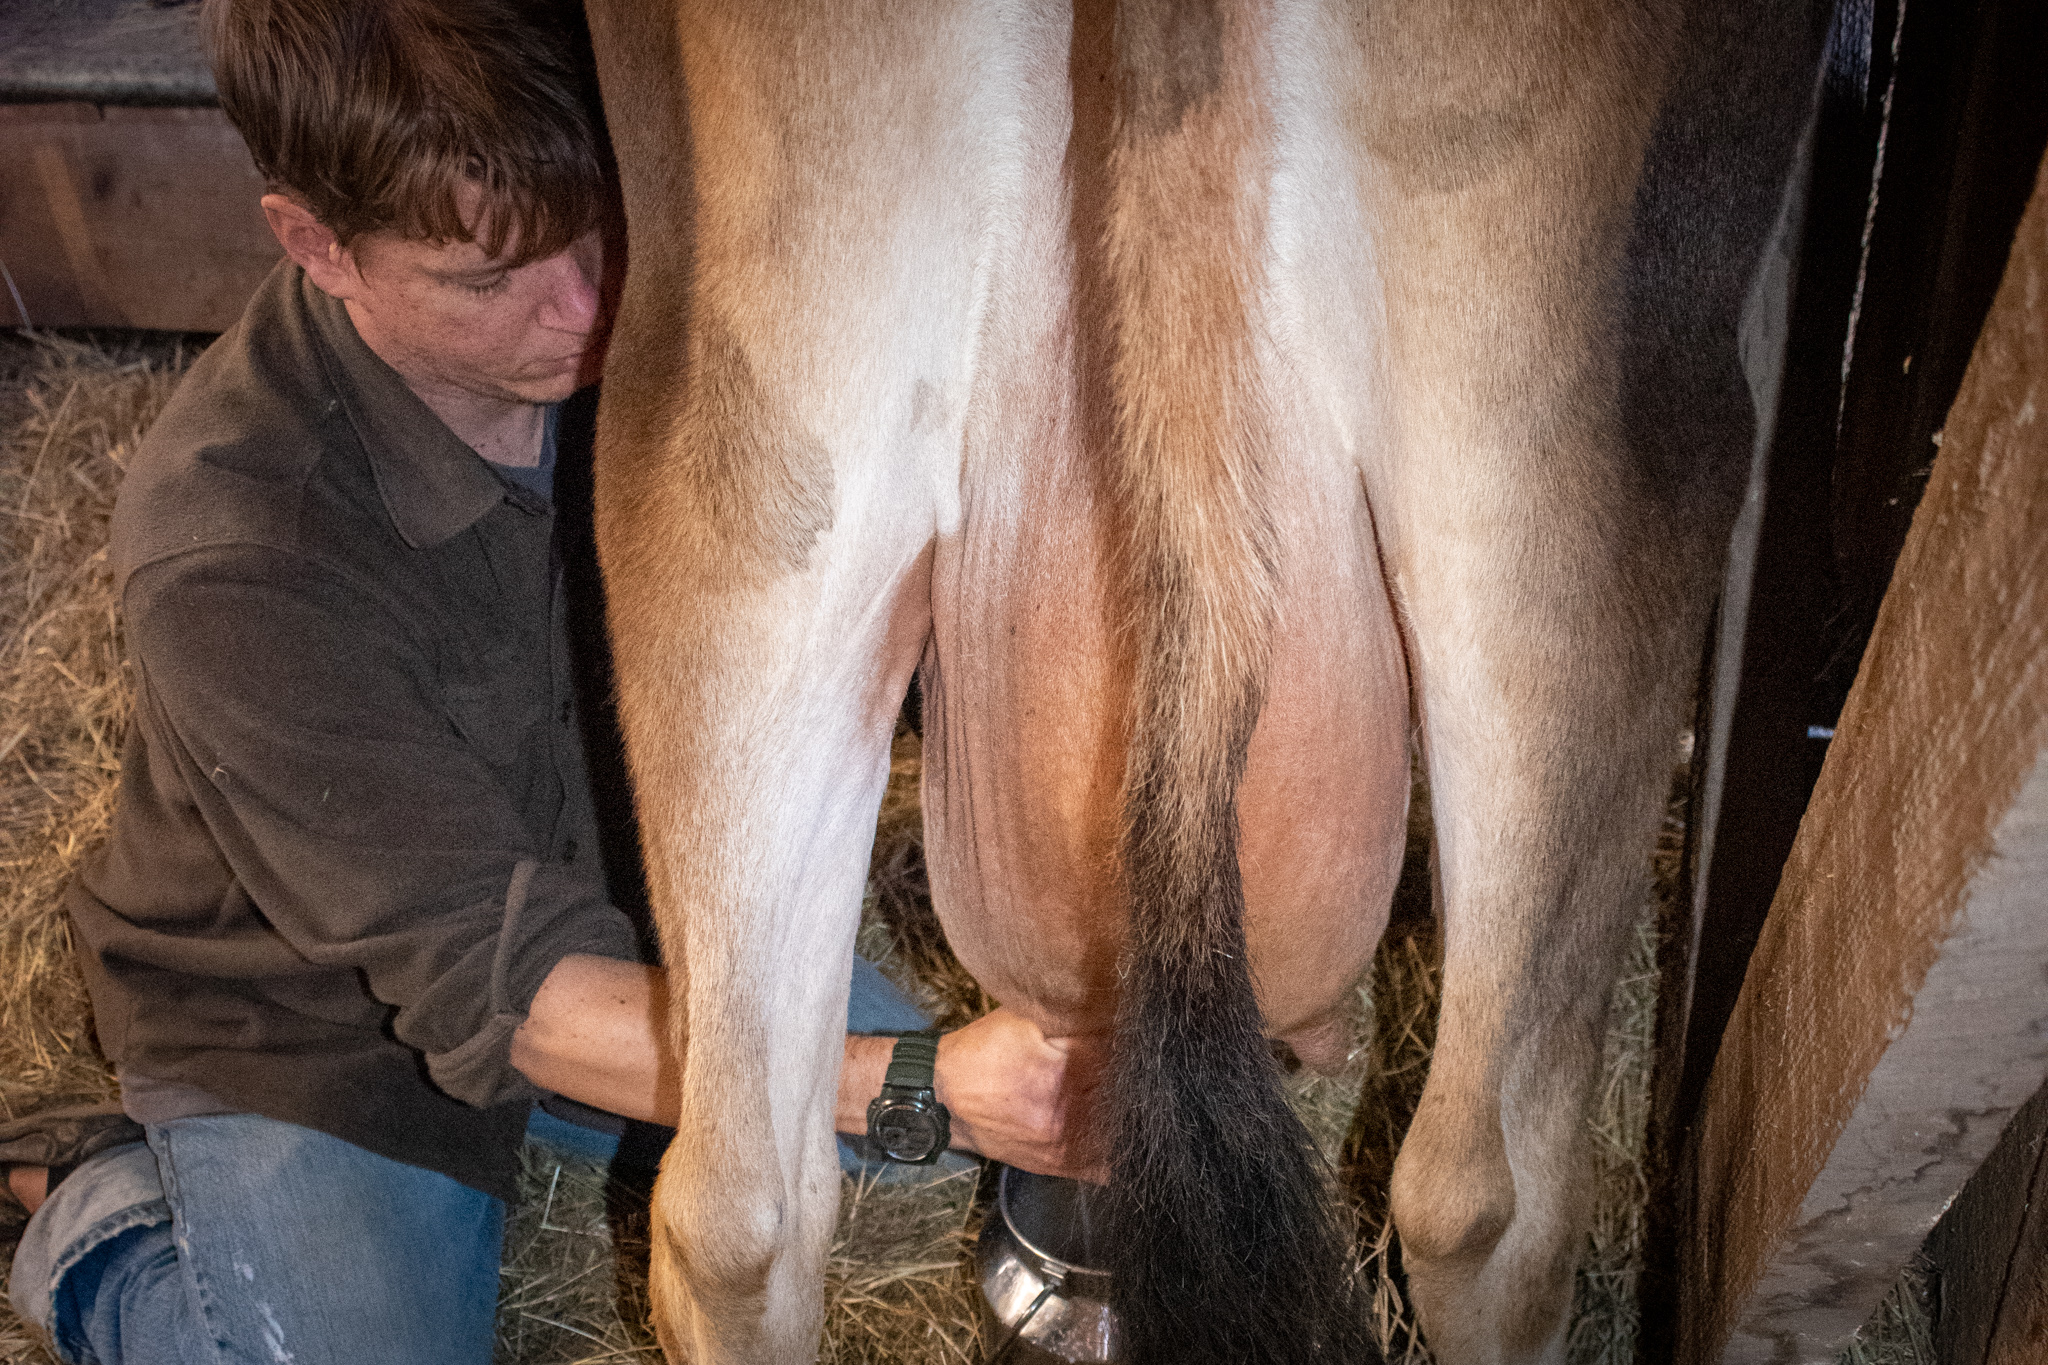
The concept of milking any animal is simple. You use the thumb and first finger to squeeze tight at the top of the teat where it connects to the udder. This traps some milk in the teat. Use a rolling motion with your remaining fingers to force the milk out of the teat while keeping the first finger and thumb tight so that the milk is not forced back up into the udder. It may feel awkward the first few times but that feeling soon goes away and you won’t even need to think about what you’re doing, just watch the milk stream into your container!
Strip milk into strip cups. A squirt or two from each teat goes through a filter so you can do a visual inspection for abnormalities in the milk. The first squirt or two will also help to rinse most of the remaining potentially pathogenic bacteria from the teat opening and leave your milk that much cleaner. I don’t use a strip cup with every animal when I have no other reason to be concerned about their health but I do usually discard the first few squirts as a means of cleaning any bacteria from just inside the teat opening where it is difficult to clean.
This is also a good time to do the CMT test if you have an animal that needs monitoring for mastitis. I do that typically once a week with my problem cow.
I give my girls their grain right before I start milking. They usually finish it well before the milking is done and with animals new to the process, this is the time you’ll have to be cautious about impatient animals stamping, kicking the bucket, etc. Be patient with them and with yourself! They will learn in time to stand and quietly chew their cuds till you finish. Lots of milkers I know say they have good success with making the cow wait until the milking is complete before getting their grain.
Talk to your girls! Well bonded animals are easier to manage, happier and healthier. You are the herd leader, the queen bee, and you should let them know what a good job they are doing as they produce nourishment for the farm and family. They don’t care too much about the topic and I sometimes work out my own issues while chatting with Bumblebee. It’s much cheaper than therapy!
Post Hand Milking Processes
Common post-milk processes include re-applying teat-dip and or some udder balm. I keep the udder balm off the teats but have found great benefit to udder health by using this liberally after each milking. It’s a good chance to feel up the udder well and you’ll know if she held back an inappropriate quantity of milk. Check also for unusual hardness or lumps in any of the quarters.
Release from the stanchion and clean the stanchion and any tools.

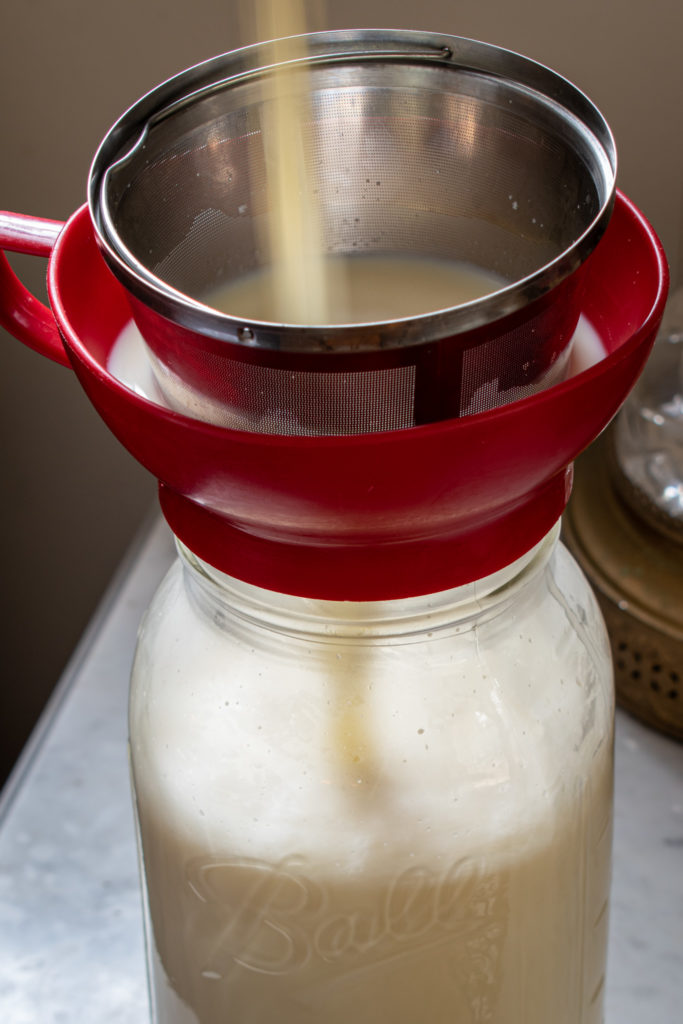
Process the milk into the cooler. With goats especially, or if the weather is unusually warm or I have other chores to do in the barn, I sometimes bring a cooler with ice packs to keep the milk in until I can get it back to my kitchen. Rapidly chilling the milk is the best way to keep any bacteria which have evaded our best attempts at cleanliness from multiplying rapidly. This will also improve the “fridge life” of the milk, especially with goat milk.
Conclusion
Remember, everyone develops their own routines and processes with hand milking and have their own little pet peeves. You are building a relationship with your milker and it will naturally evolve in specific directions. Trust your instincts and make the changes you need to do to make the process enjoyable for yourself. If you’re relaxed your girl will be able to adjust to a surprising range of circumstances surrounding milking time.


